How do I check for accessibility in Word? (macOS)
By uhwoapps on August 21, 2017
For Word 2015
- Open the Word Document
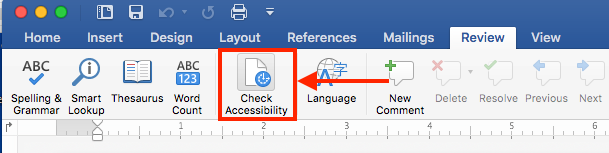
- In the ribbon, go to Review > Check Accessibility
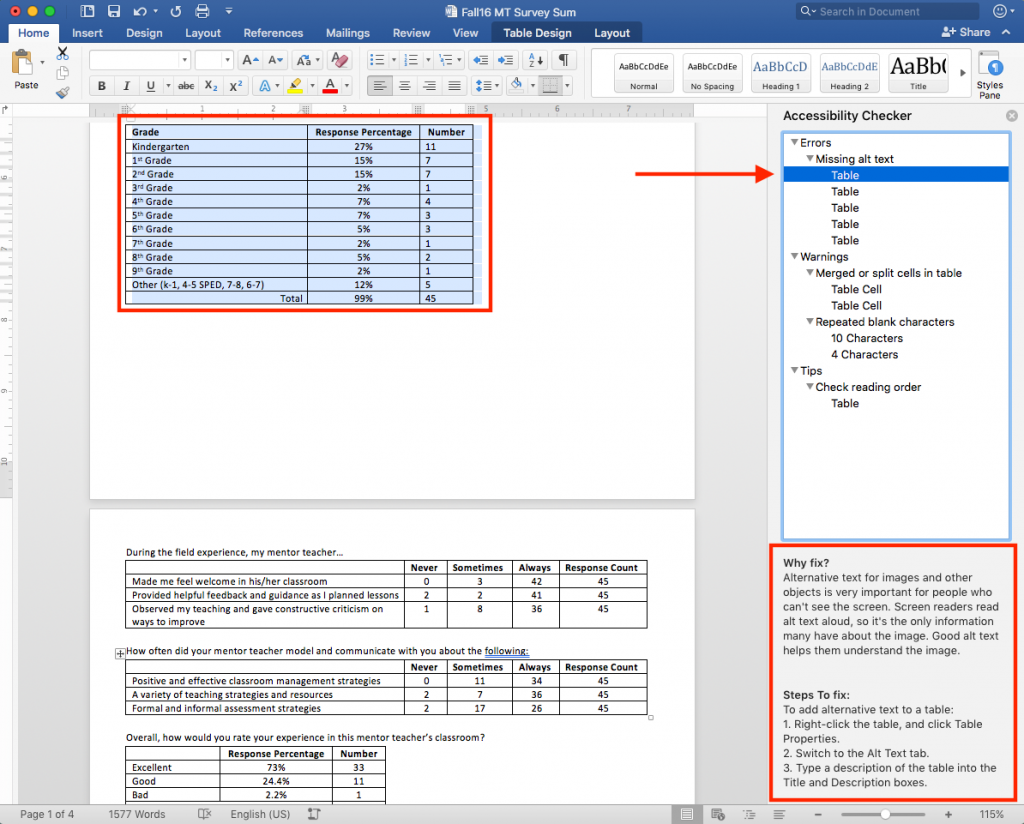
- Results will appear on the right side.
- Highlighting an error will show you where the error exists in the document. You can also find how to fix the problem in the bottom right corner of the screen.
Common problems and how to fix (with screenshots)
Fixed everything? What’s next?
The final steps before a document is posted on a web page is to convert the document to a PDF.
Converting an accessible Word document to an accessible PDF document.
Troubleshooting
Missing “Check Accessibility” button?
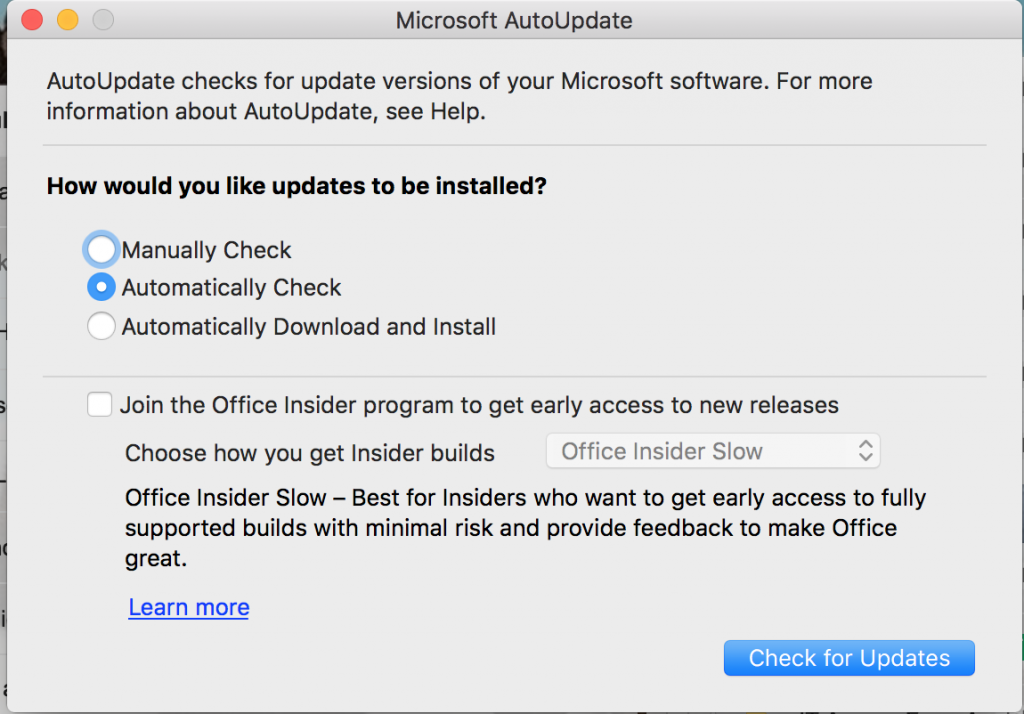
If you do not see the “Check Accessibility” button in the menu, please check for Words updates. As of 8/28/2017, the latest version of Word is 15.37. The button was not added until later versions. To check for updates:
- Open Word.
- In the menu bar, go to Help > Check for Updates

- Microsoft AutoUpdate will open. Click Check for Updates button.
- If there are any pending updates, click Install.

- Repeat steps 1-4 until no updates are detected.
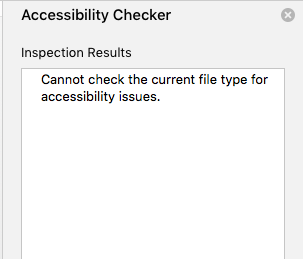
Cannot check the current file type for accessibility issues?
If you receive the error, “Cannot check the current file type for accessibility issue”, you’ll need to re-save the file. The document was likely created with a previous version of Microsoft Word. To do this…
- Open the Word document
- Go to File > Save As
- Specify a file name and save it to your desired location.
- Open this file you saved and repeat the steps above to run the accessibility checker.
Related Posts
-
How do I create an audio file from KIC?
How do I create an audio file from KIC?
9/3/2018 -
How do I set the primary language in Adobe Acrobat?
How do I set the primary language in Adobe Acrobat?
10/4/2017 -
How do I add alternative text in Adobe Acrobat?
How do I add alternative text in Adobe Acrobat?
9/28/2017